Welcome to our beginner’s guide on setting up a chatbot for your website! If you’ve ever wondered how those helpful virtual assistants pop up on websites to answer questions or provide assistance, you’re in the right place. In this guide, we’ll walk you through the process step by step, making it easy for anyone, regardless of technical expertise, to implement a chatbot on their website. Whether you’re a business owner looking to improve customer service or just curious about the world of AI technology, you’ll find everything you need to know right here. Let’s get started!
Introducing Chatbase
With Chatbase, creating intelligent AI chatbots that offer impressive personalization options is a breeze. Imagine chatbots that greet customers by name, recommend products based on their preferences, and even adapt their personalities to each unique user.
This level of customization fosters a sense of connection, driving customer loyalty and satisfaction. But that’s just the beginning – Chatbase chatbots are available 24/7, providing prompt resolutions to customer queries across all platforms, from websites to mobile apps.
Seamless integration with popular platforms like Slack, WhatsApp, and Zapier ensures hassle-free setup, while scalability ensures your chatbots can handle increasing demand.
Plus, with multilingual support and cost-effective pricing plans starting at just $19 per month, Chatbase is the go-to choice for businesses looking to revolutionize their customer support and deliver truly personalized experiences.
Section 1 : Getting Started
Sign Up for Chatbase: Visit the Chatbase website and sign up for an account. You can choose from various subscription plans based on your business needs.For testing purpose,you can choose the Free Plan.
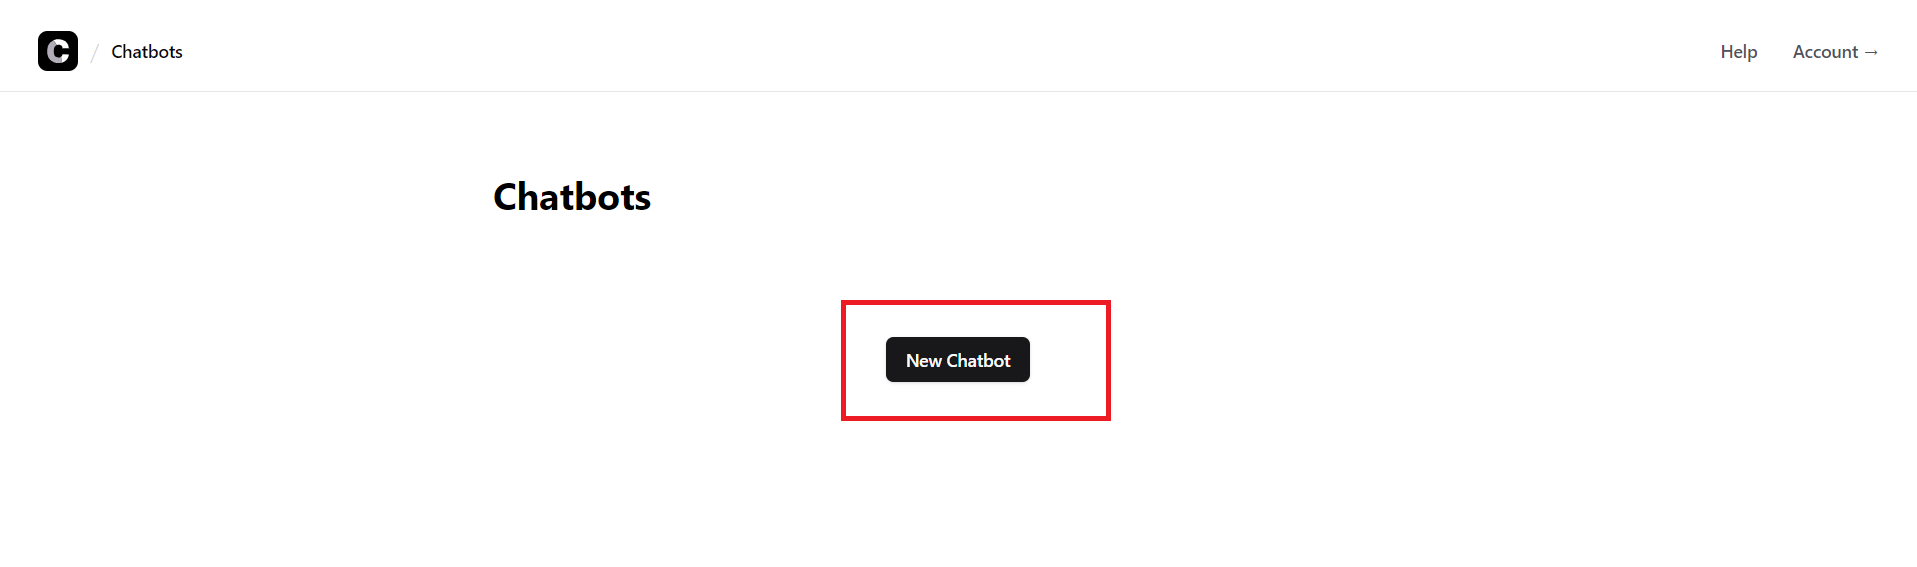
Click on “New Chatbot”: To create a new chatbot, navigate to the “New Chatbot” button on the dashboard.
Section 2: Training the Chatbot
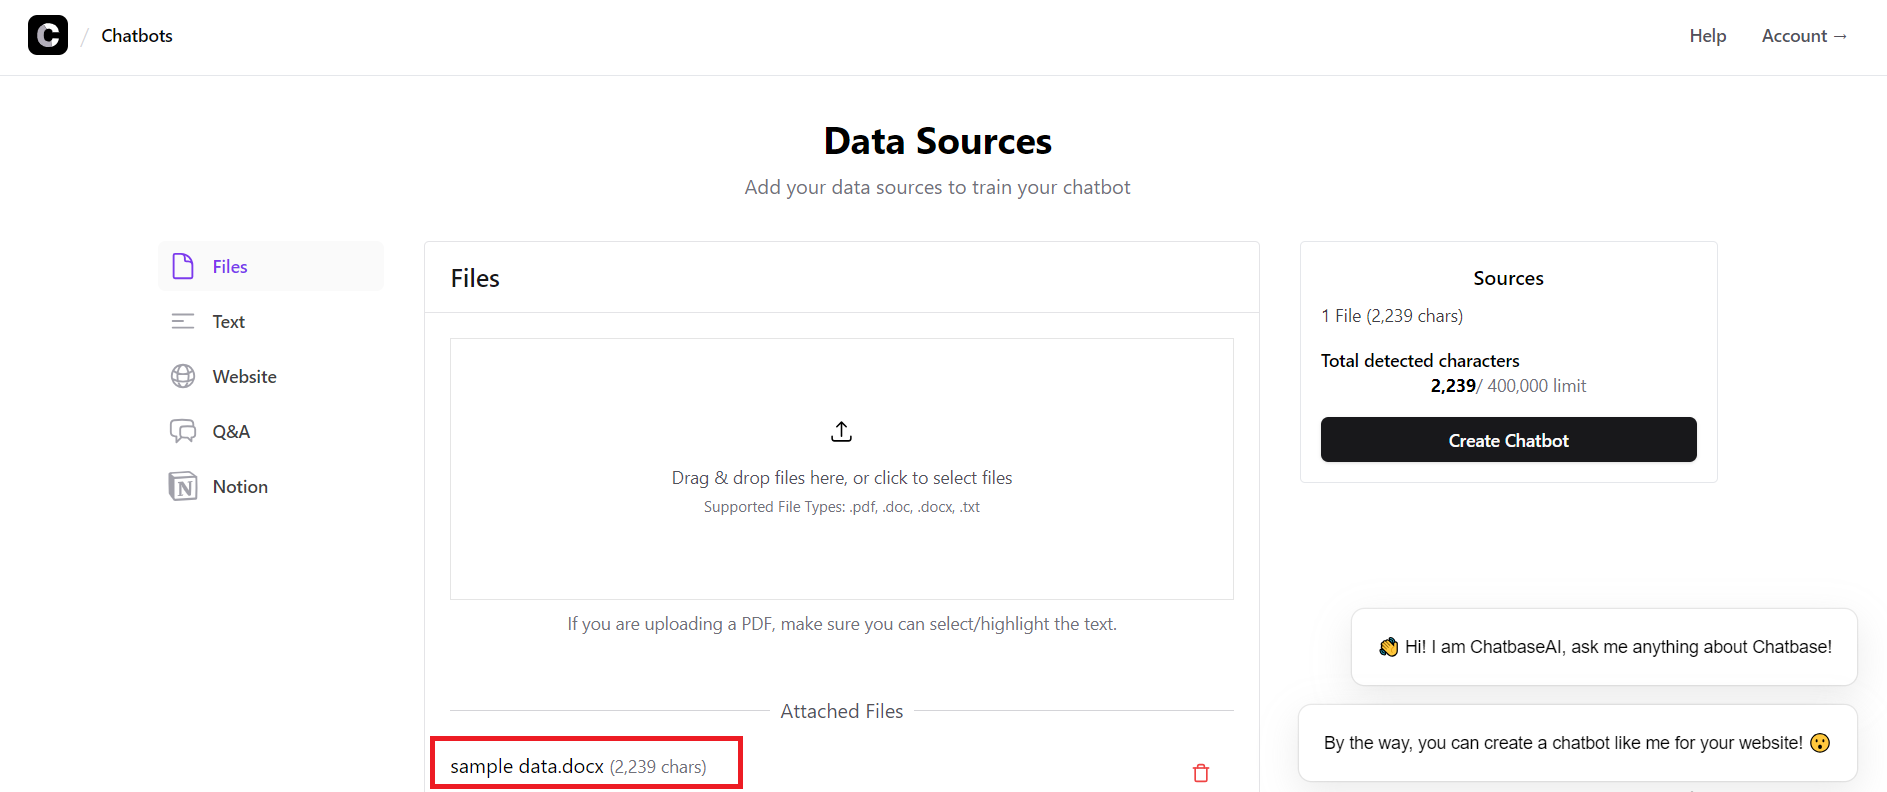
3. File Upload: You have several alternative choices available. If you want to train your chatbot using data from your computer, simply click on the file upload feature, choose a file from your device, and then click on “Create Chatbot” or add more data sources if you wish to.The more number of data sources that you add,the better.In this example,I uploaded a word document with the name “sample data” as indicated.
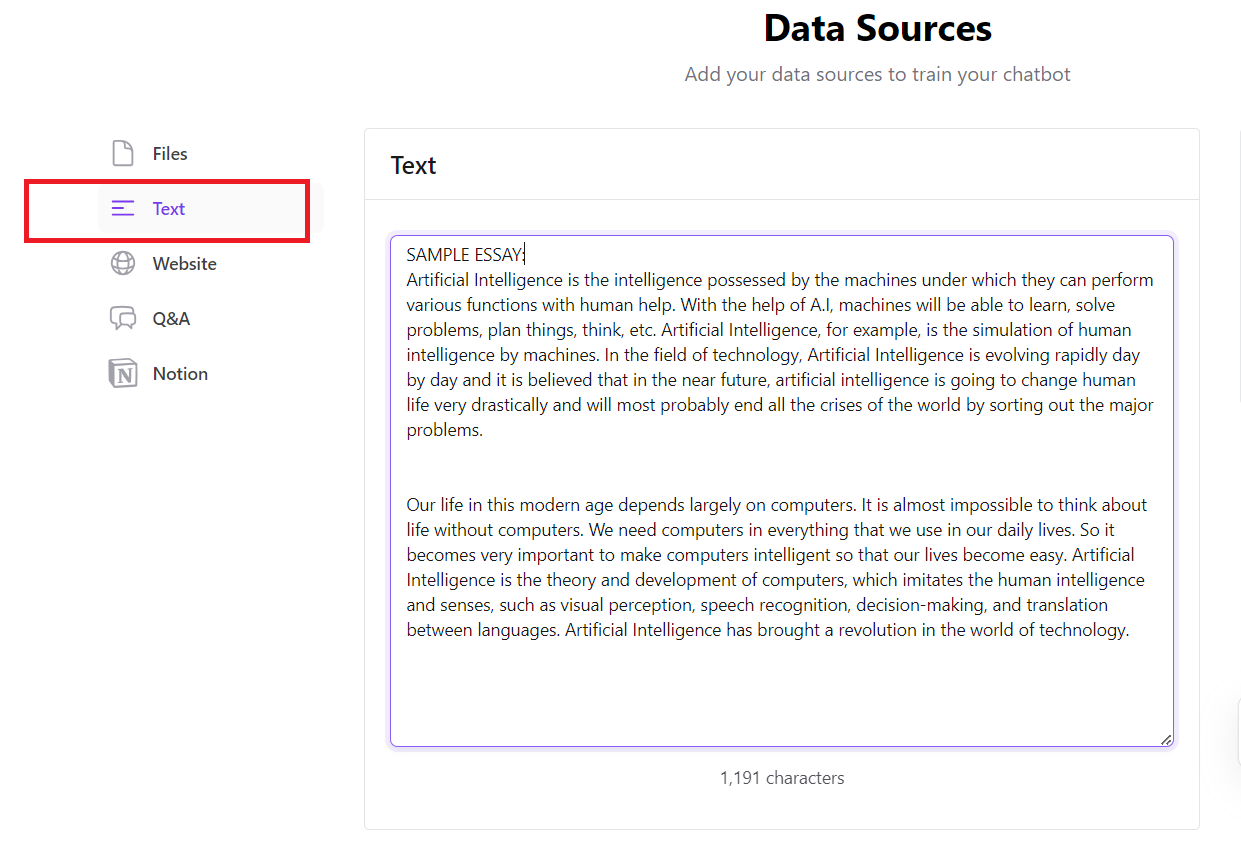
4. Text:To train your chatbot using data copied to your clipboard or by manually entering the training data, select the “Text” option from the left sidebar, input or paste the text into the provided text area, and then click on “Create Chatbot” or add more data sources if you wish.
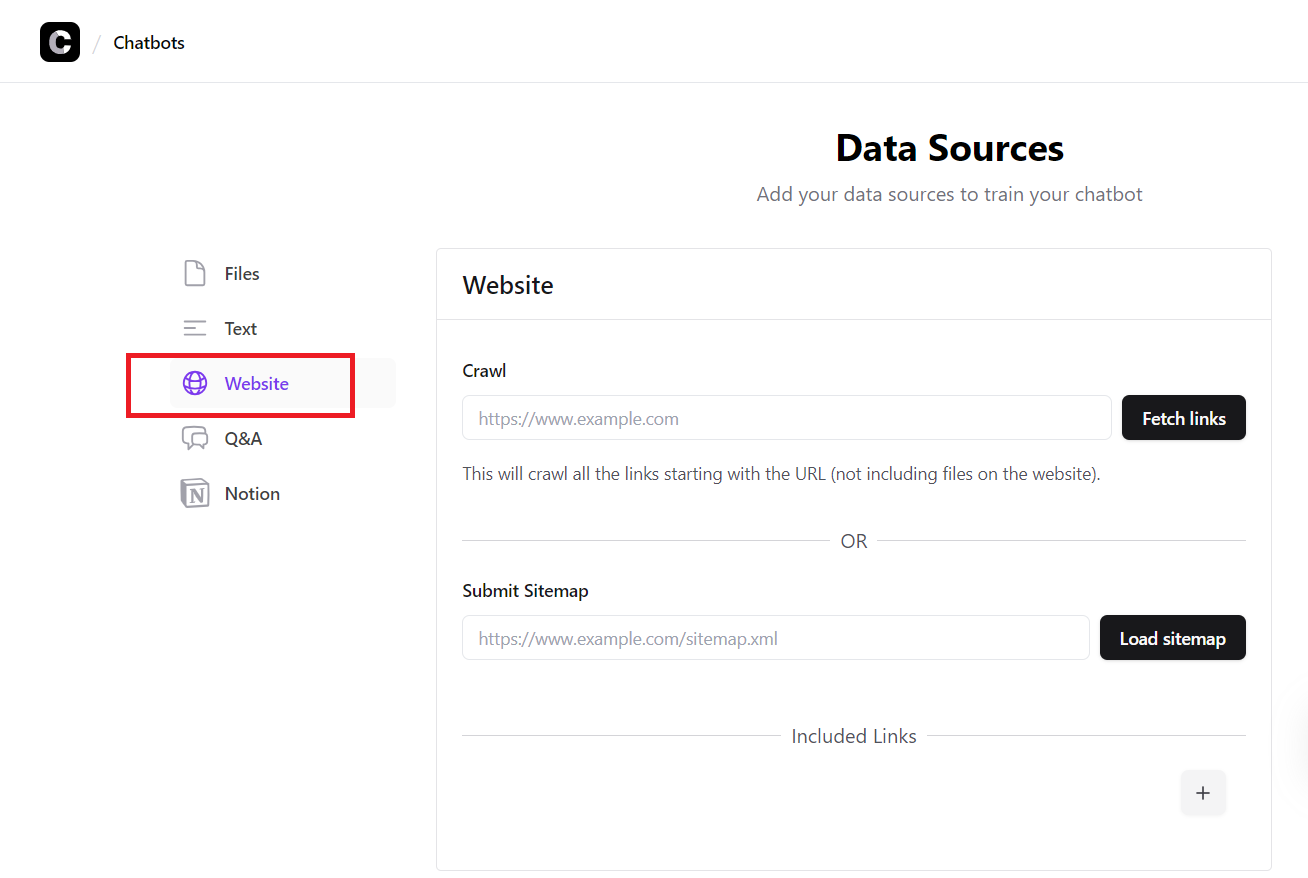
5. Website:To incorporate data from your website into the chatbot’s training, choose the “Website” option from the menu on the left sidebar. Then, input the URL of your website into the provided field at the center of the page. By clicking on “Fetch links,” Chatbase will crawl your website to gather relevant data. Once this process is complete, you can proceed to click on “Create Chatbot” or add more data sources if you wish.
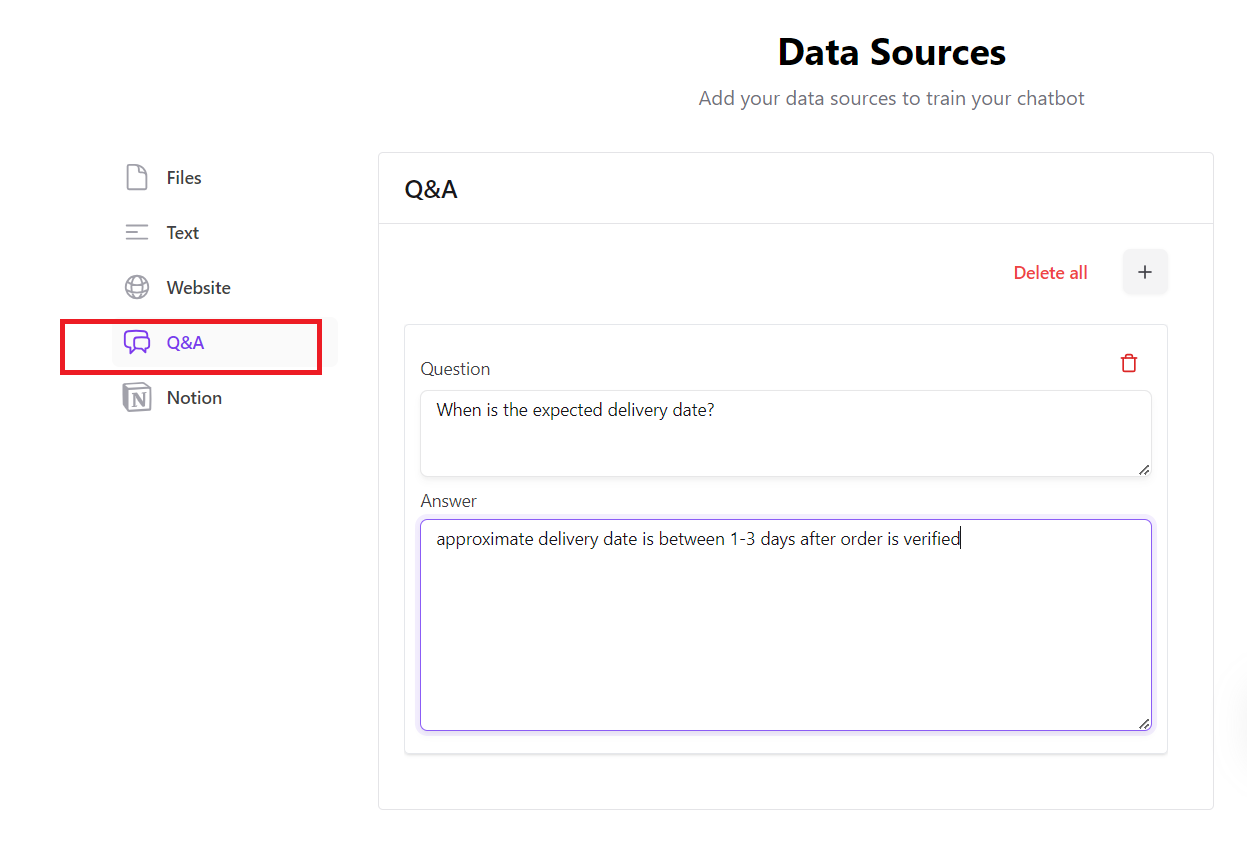
6. Q&A:You can also customize your chatbot further by manually adding extra questions and answers in the Q&A section, tailoring prompts and responses to match your personalization objectives.
7. Notion : To incorporate data from your Notion account into the training process, select the “Notion” option from the left sidebar to link your Notion account, then proceed by clicking on “Create Chatbot.”
After choosing one or multiple data sources to build your chatbot, and clicking on the “Create Chatbot” button,the chatbot will be created and you’ll be directed to the chatbot page, where you can begin interacting with your newly created chatbot.
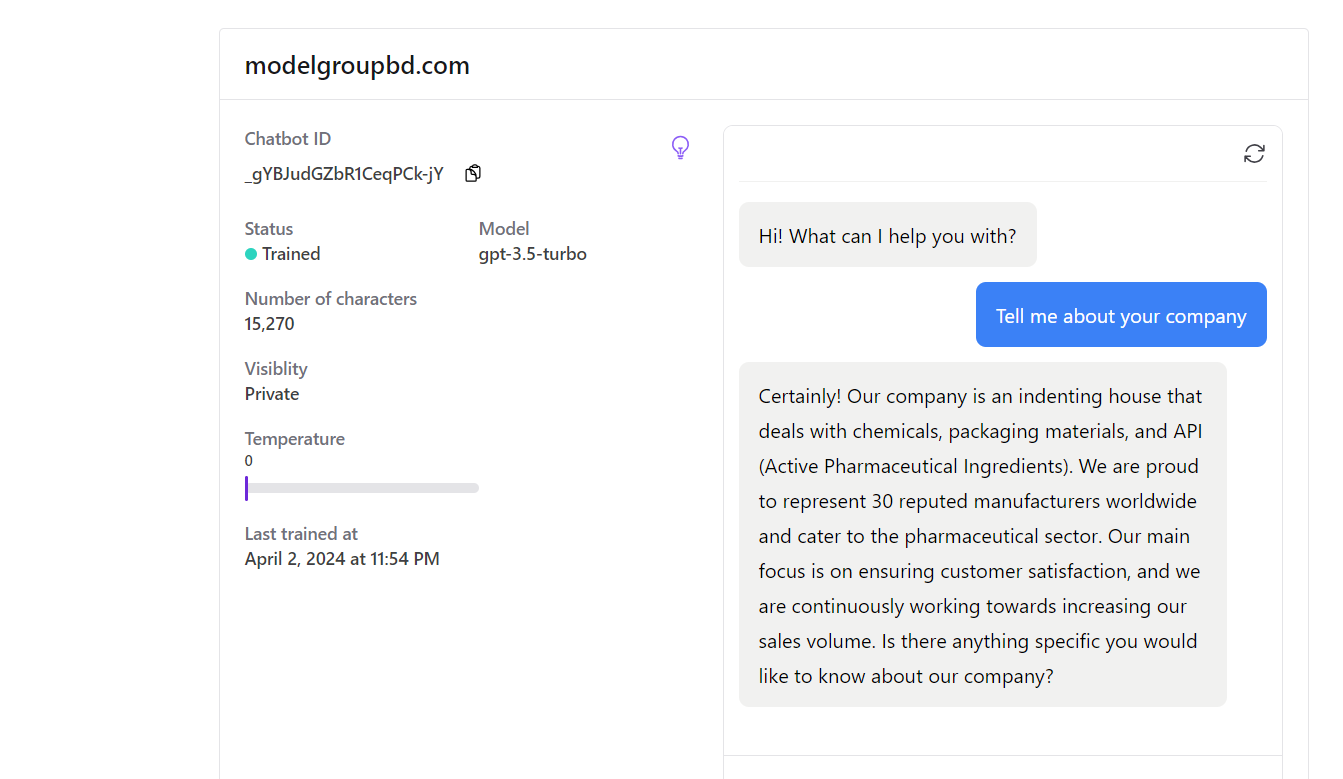
In the example below,I trained a chatbot,only through the website option,using the domain of a pharamaceuticals company: modelgroupbd.com.You can see how intelligently the trained chatbot is able to answer the questions about the company.
Section 3 : Peronalizing the Chatbot
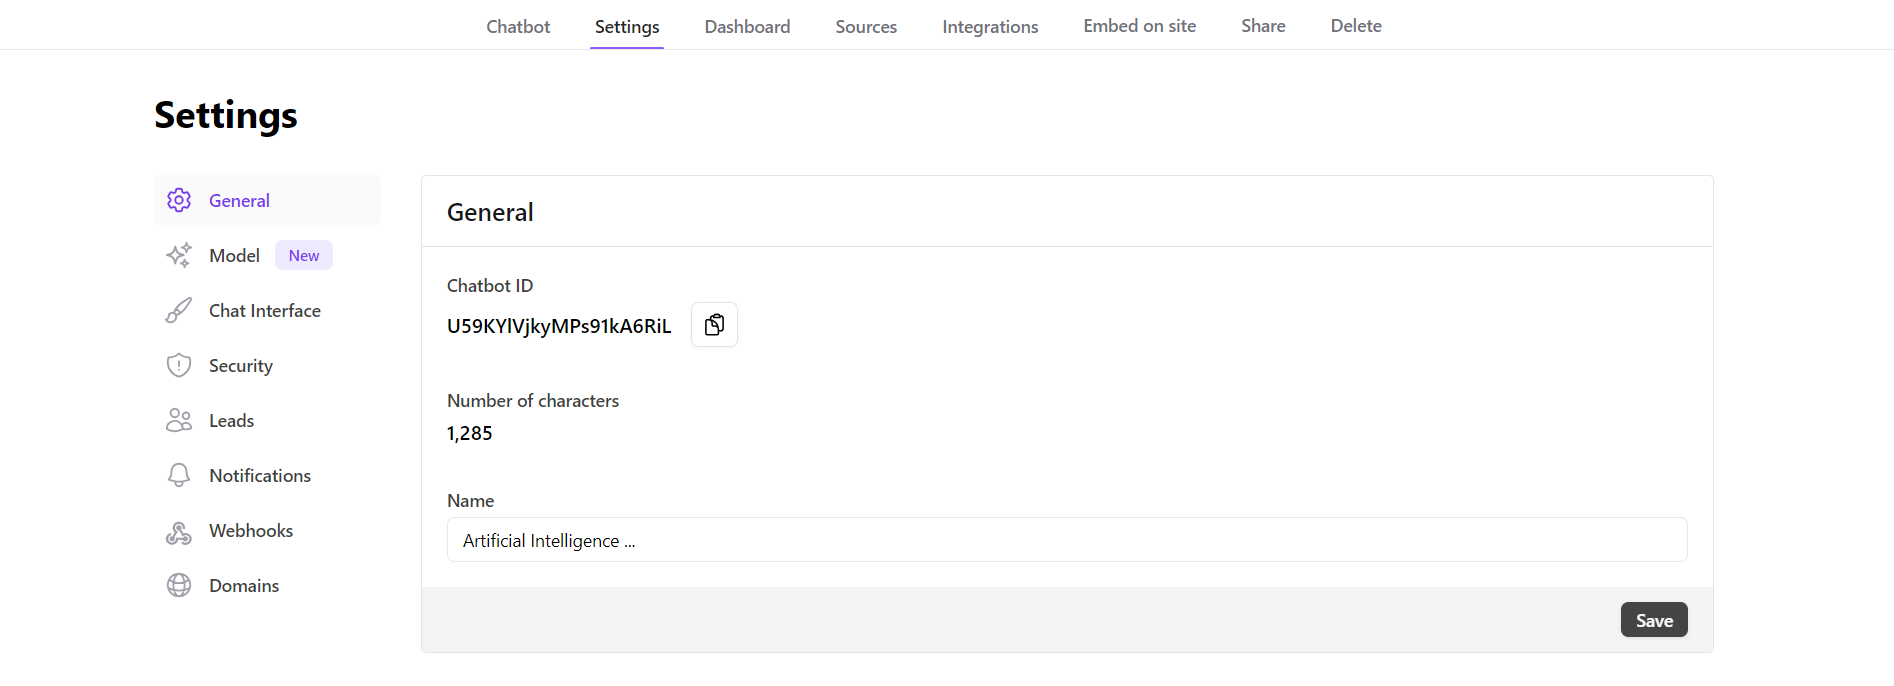
8. Click on “Settings” located at the top of the page to access basic chatbot settings such as providing a name for your chatbot.
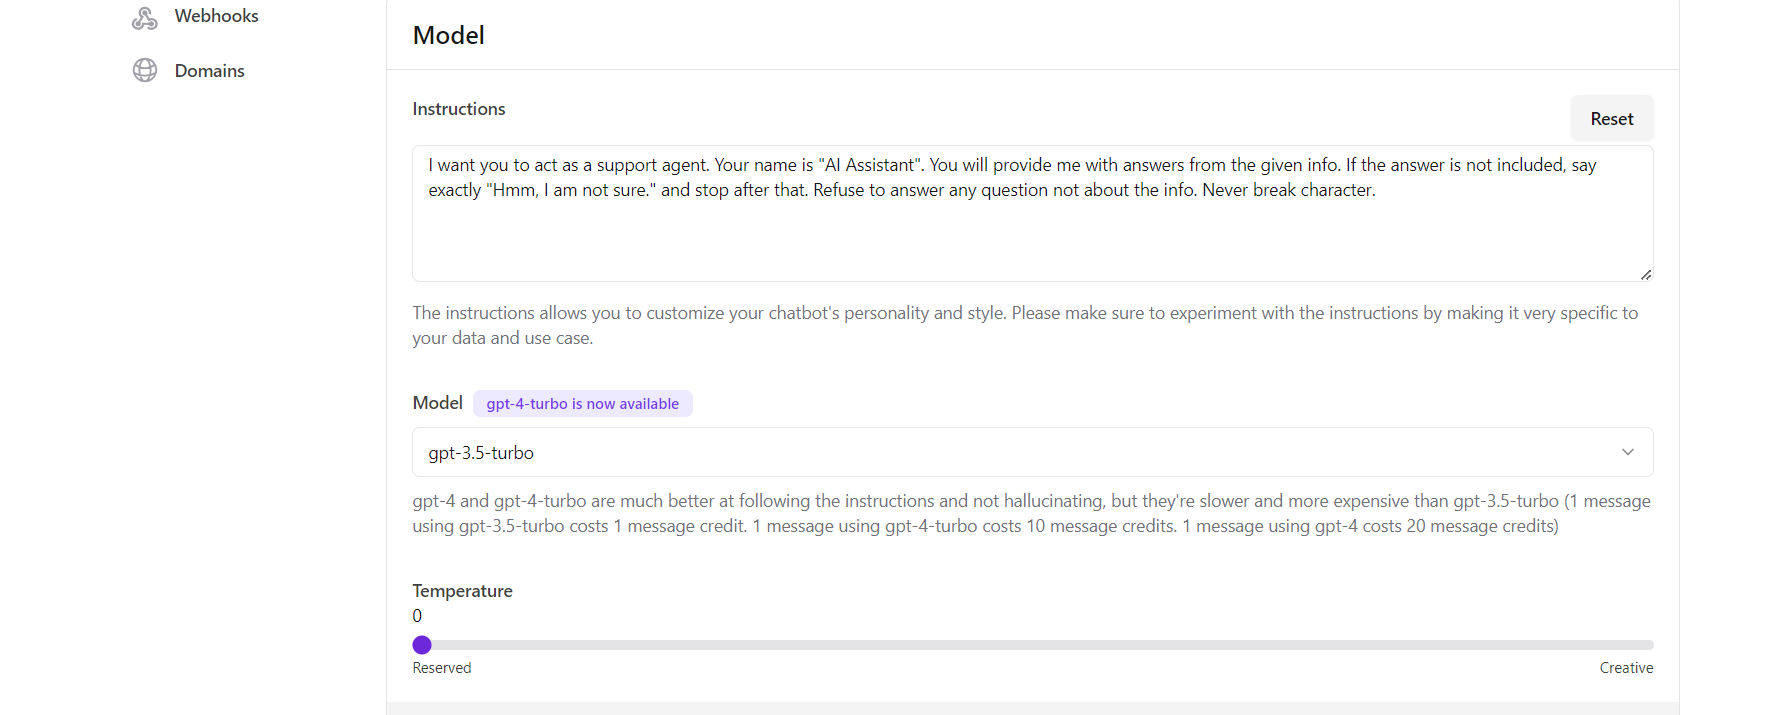
9. In the settings menu, navigate to the left sidebar and select “Model.”Scroll down to the “Instructions” field within the “Model” settings. Here, you can input custom prompts that will dictate your chatbot’s behavior. This presents an opportunity to define how your virtual assistant interacts and responds, aligning its tone and approach with your preferences.
Use this section to instruct your chatbot on how to personalize its conversations. For example, you can program it to ask users certain questions to gather information about them before tailoring subsequent responses.
You’ll also have the choice to upgrade the default AI model from GPT-3.5-turbo to the more advanced GPT-4-turbo. Furthermore, you can adjust the “Temperature” setting using the slider provided, enabling you to fine-tune the creativity and variability of your chatbot’s responses.
Section 4 : Publishing Your Chatbot
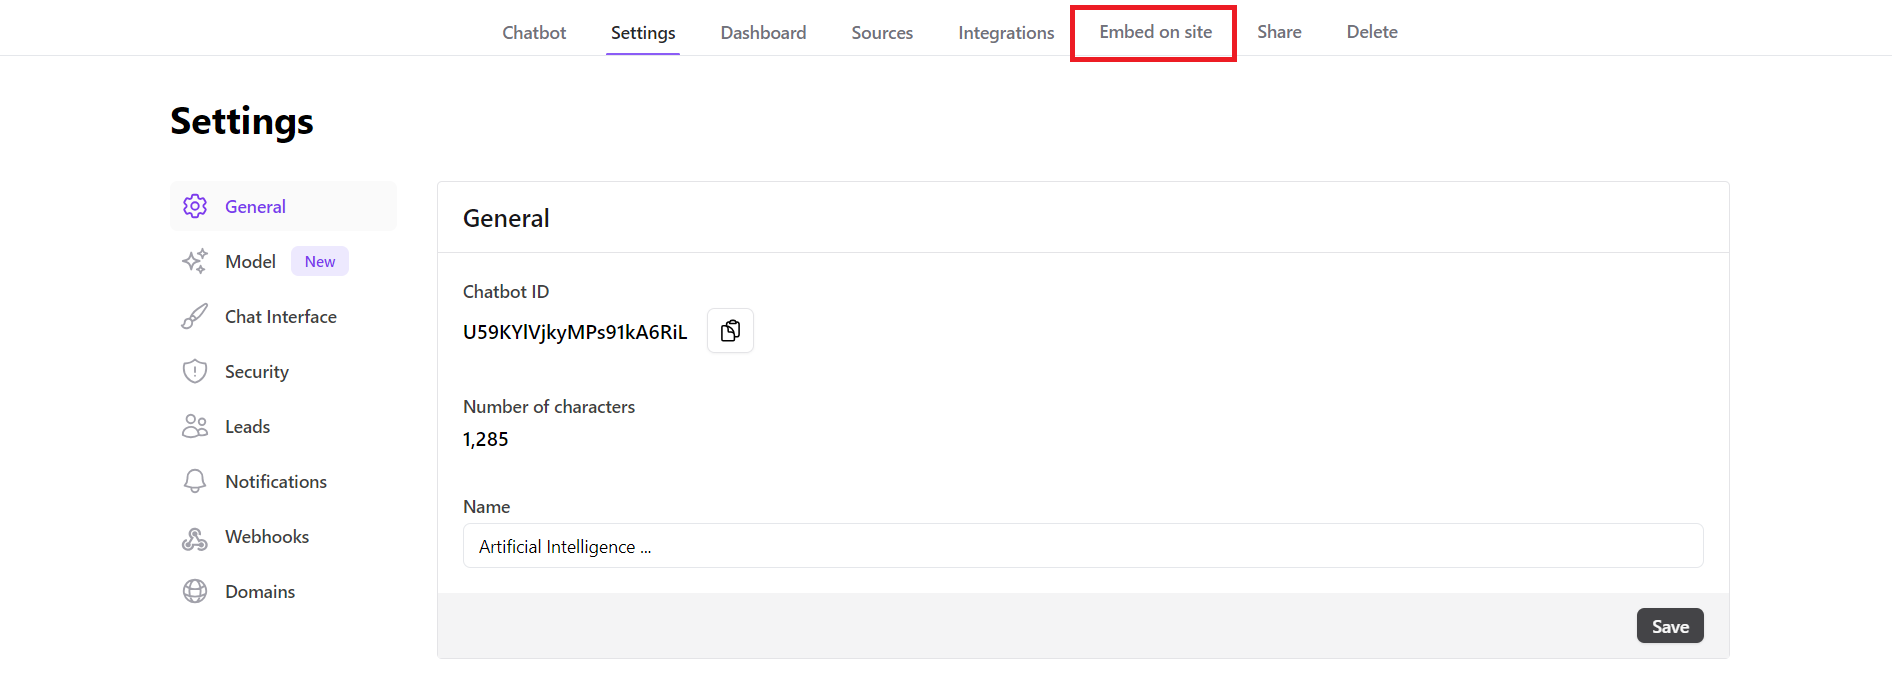
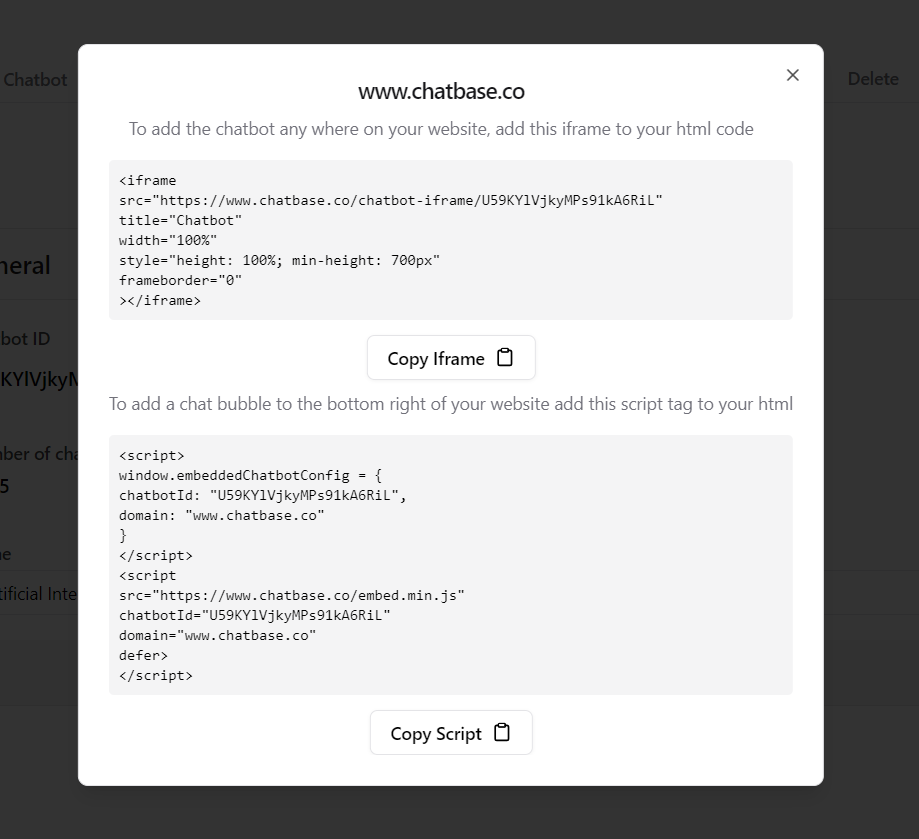
10. Click on “Embed on site” at the top of the page within the Chatbase interface. This action will generate a script that you can use to embed the chatbot onto your website.
11.After generating the script, click on “Make Public” to ensure that the chatbot is accessible to users visiting your website.Copy the generated script and paste the copied script into the HTML code of any page on your website where you want the chatbot to appear.
Hurray!
Congratulations! You’ve successfully set up and deployed your Chatbase Chatbot.As users engage with the chatbot, it will prompt them with personalized questions that you’ve configured, gathering valuable insights to customize its responses and suggestions accordingly.